Last updated November 21, 2026
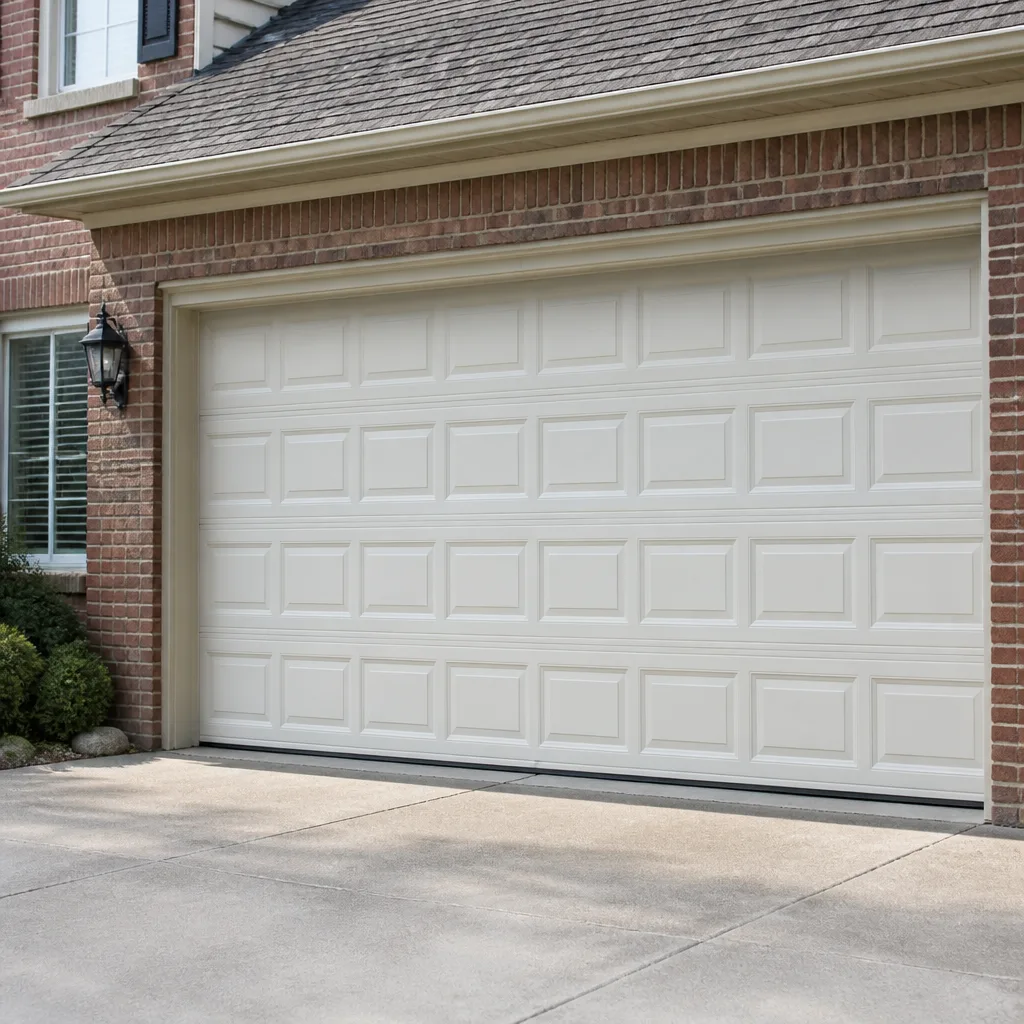 Raised-panel steel
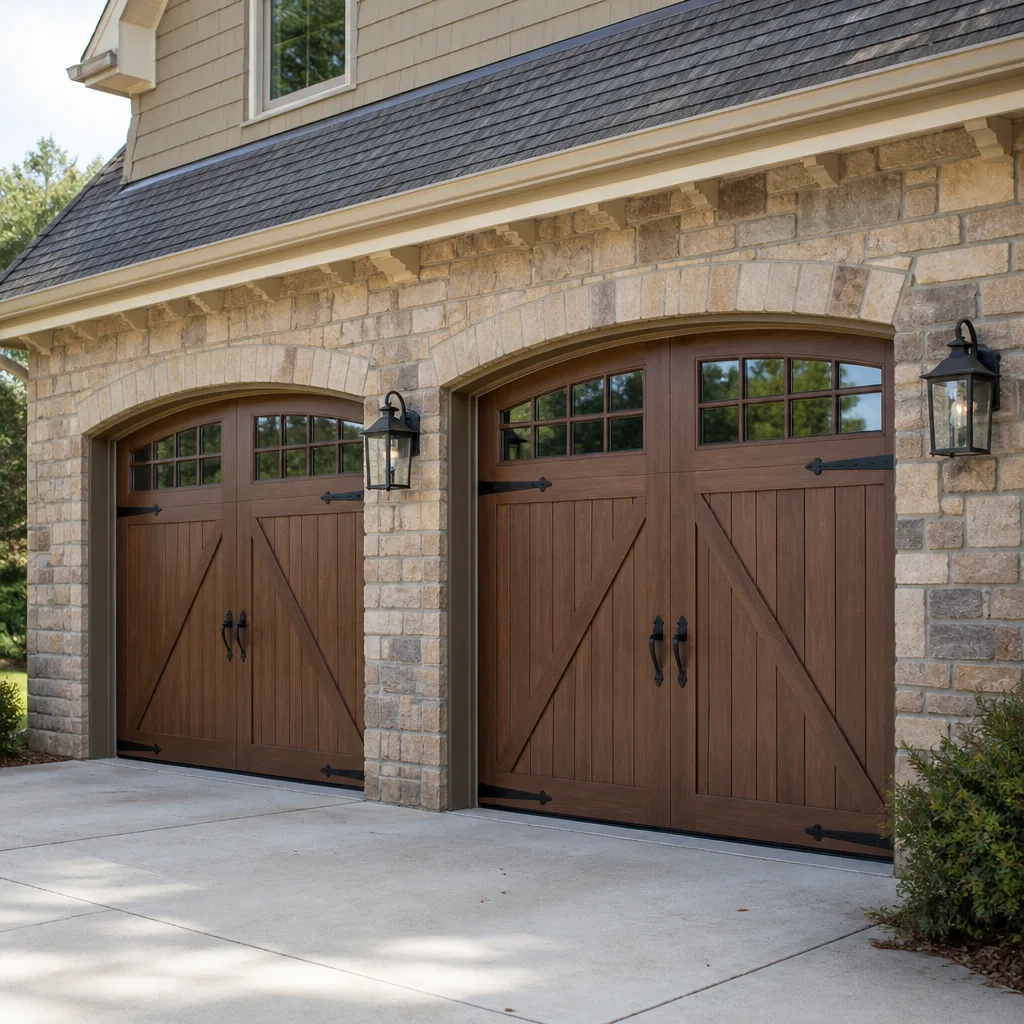 Carriage house
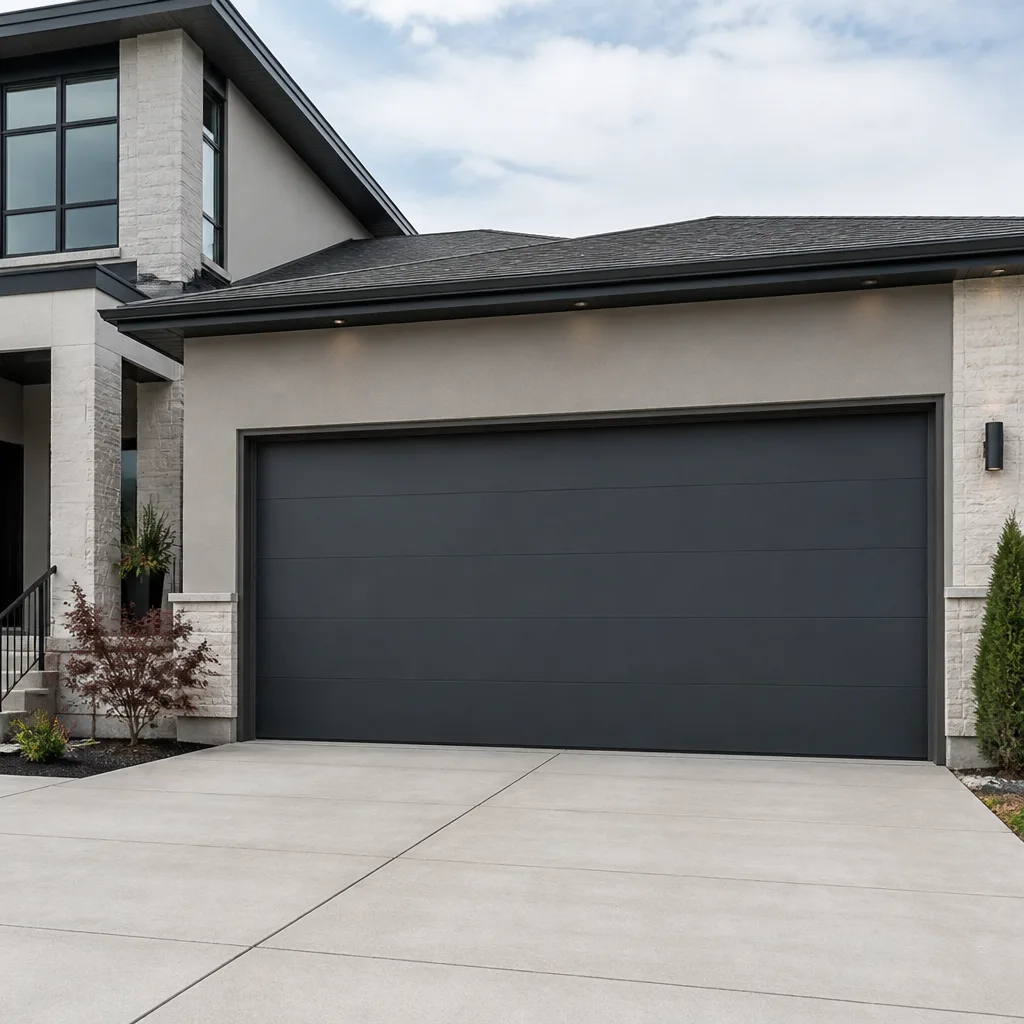 Modern flush
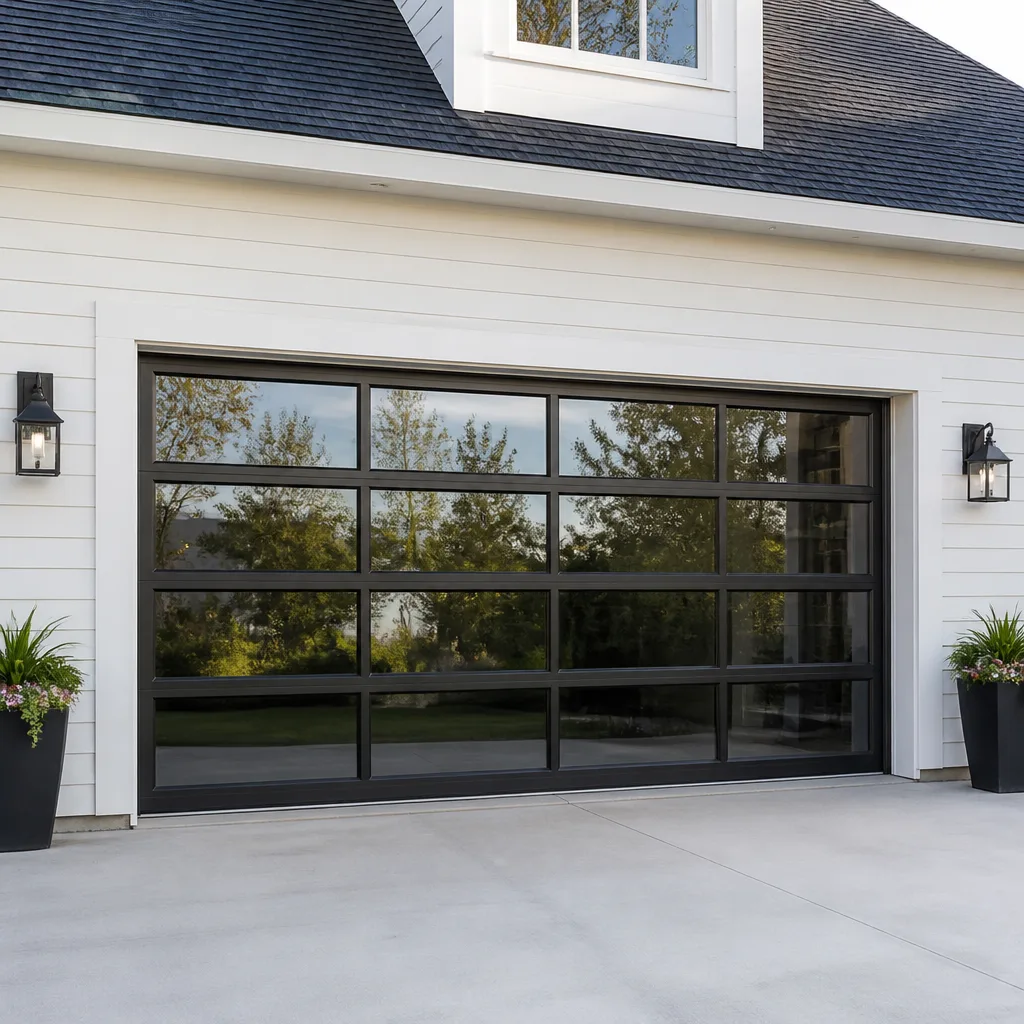 Full-view glass
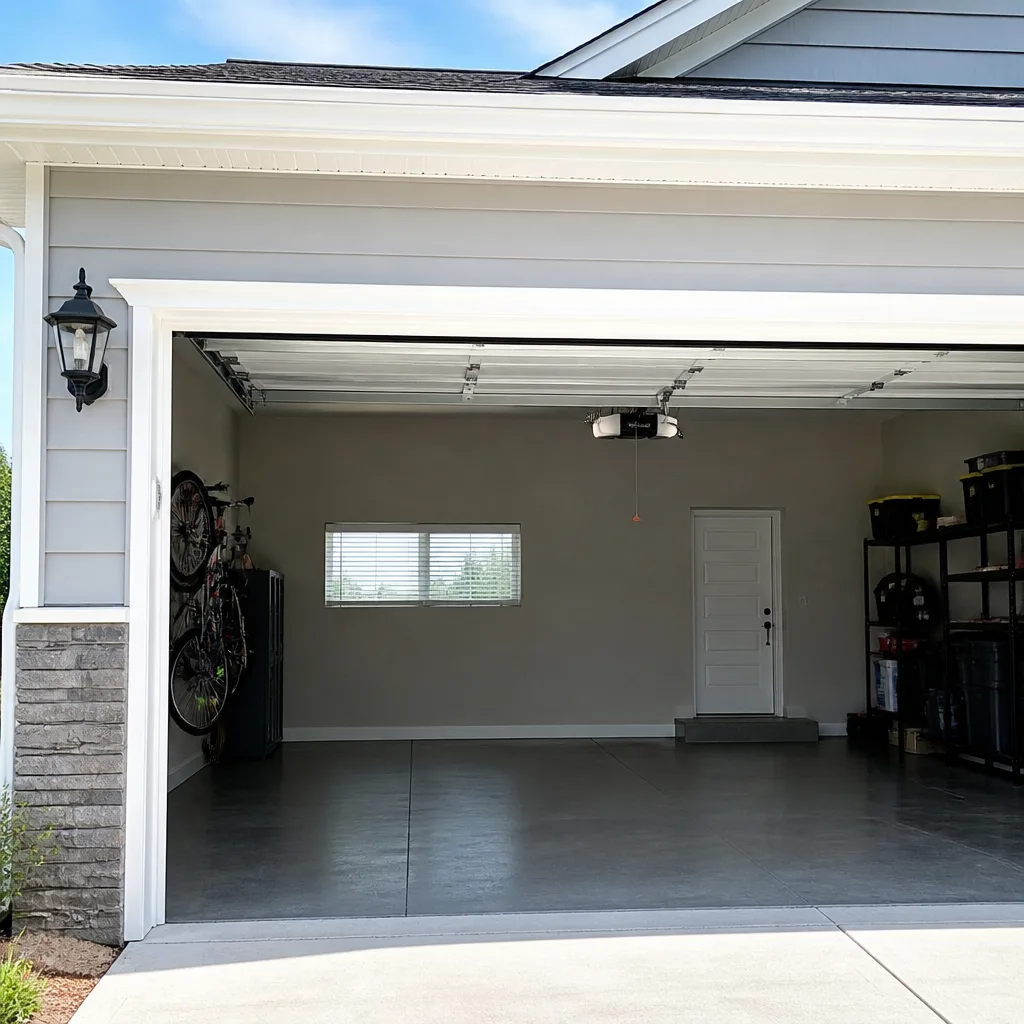 LiftMaster openers
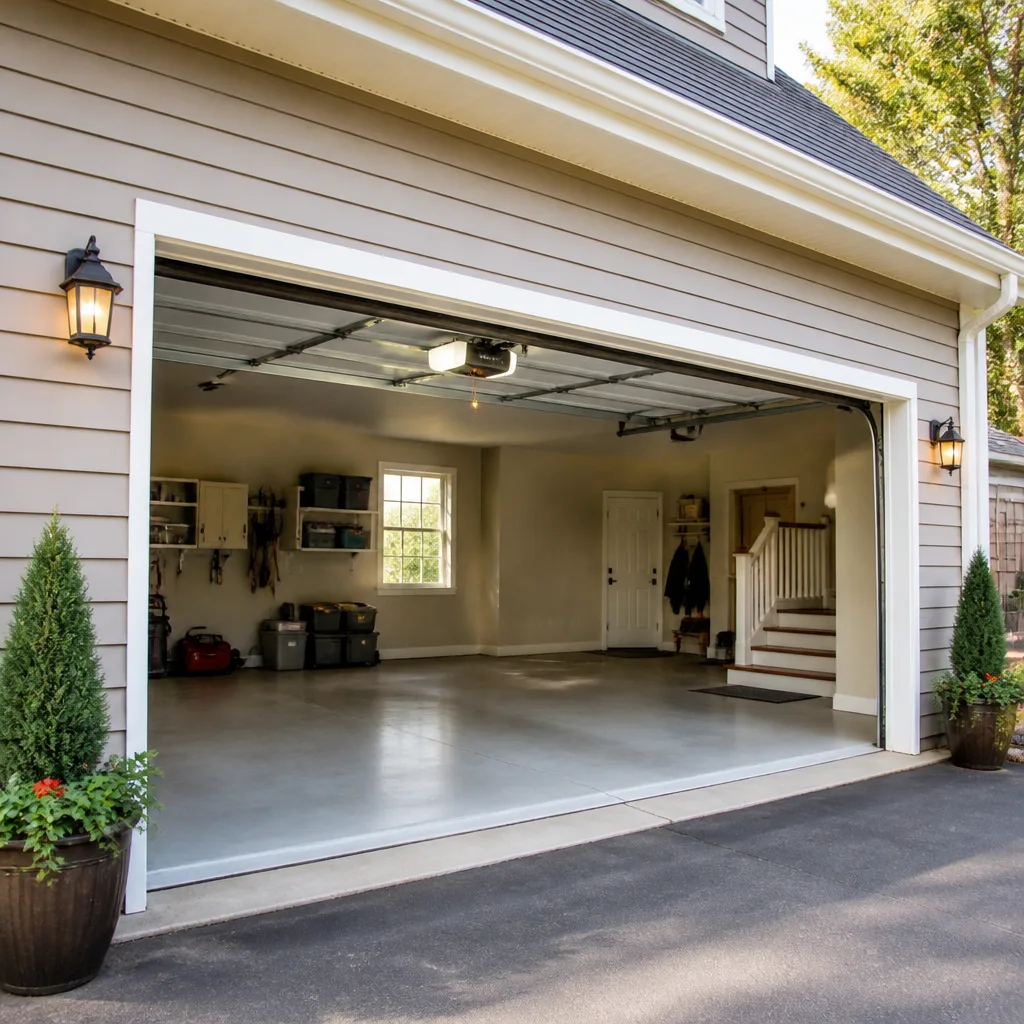 Chamberlain openers
Full 25-point door and opener safety check with every visit - springs, cables, rollers, tracks, and your LiftMaster or Chamberlain opener included
You get a price before we start. It does not change when the pro arrives.
Get your free estimateGarage Door Repair Maintenance Checklist for East Flatbush Homeowners
Skipping lubrication on the rollers isn’t the mistake that costs you. It’s doing it before you’ve checked torsion spring coil gaps, the one inspection that tells you whether the door is safe to cycle at all. Most homeowners work in the wrong order. They spray, they tighten, they admire their handiwork, and then a spring three cycles from failing lets go at 11pm and the car is trapped inside. This guide gives East Flatbush homeowners a mechanic-style inspection routine built around sequence: safety-critical checks first, performance checks second, cosmetics last. You’ll learn what to look at, what to listen for, which lubricants actually survive Brooklyn’s temperature swings, and exactly where DIY maintenance ends and a specialist gets the call.
Styles & brands we work with
- Raised-panel steel
- Carriage house
- Modern flush
- Full-view glass
- LiftMaster openers
- Chamberlain openers
Quick Answer
A safe garage door maintenance checklist starts with safety-critical checks before anything else: torsion spring coil gaps, cable condition, and door balance. Only after the door passes those should you move on to lubrication, weatherstripping, and opener testing. If you find a gap in the torsion spring, frayed cables, or a door that won’t stay in place, stop and call a garage door specialist in East Flatbush rather than adjusting anything yourself.
Table of Contents
- Why the Order of Your Checklist Matters More Than the List
- Step 1: Assess Torsion Spring Wear Without Touching the Spring
- Step 2: Cable and Drum Inspection
- Step 3: The Balance and Travel Test
- Step 4: Lubrication That Survives Brooklyn Temperature Swings
- Step 5: Weatherstripping and Curb-Level Debris in East Flatbush
- Step 6: Opener, Safety Sensors, and Manual Release
- How Often Should You Run This Checklist?
- Common Mistakes to Avoid
- When to Call a Professional
- Frequently Asked Questions
- The Bottom Line
Why the Order of Your Checklist Matters More Than the List
Every garage door maintenance list you’ll find online includes roughly the same items: lubricate the springs, check the cables, test the safety sensors, inspect the weatherstripping. The items aren’t the problem. The order is. A checklist is really a diagnostic sequence, and running it in the wrong sequence means you can spend twenty minutes lubricating a door that was never safe to cycle in the first place.
Here’s the logic. A torsion spring stores enough energy to lift a door that weighs well over a hundred pounds. When that spring is intact, the door is a controlled mechanical system. When the spring is cracked, the door is a dead weight held only by the cables and your opener’s gear. Lubricating a roller on a door with a broken spring doesn’t make the door safer. It just makes it smoother for the half-second before the opener strips its gear trying to lift something it can’t.
So the sequence below runs in three phases. Phase one covers the components that can injure someone if they fail: springs and cables. Phase two checks whether the door moves as a balanced system. Phase three handles everything that affects how the door feels and how long it lasts: lubrication, seals, and the opener. You only move to the next phase after the previous one passes.
This matters more in East Flatbush than in newer suburbs. A lot of the housing stock here includes older garages, detached and attached, that have been retrofitted with newer openers over the years. That combination, an older door and spring assembly paired with a modern LiftMaster or Chamberlain unit, is common, and it means the opener can mask a weakening spring for a while. A sequenced inspection catches the spring before the opener does.
Step 1: Assess Torsion Spring Wear Without Touching the Spring
You can evaluate a torsion spring’s condition entirely by eye, from the ground, without putting a hand on it. This is the single most valuable check on the list, and it’s the one most homeowners skip because they’ve been told springs are dangerous. They are. That’s precisely why you look instead of touch.
A torsion spring is the coiled steel bar mounted horizontally above the door. When it’s healthy, the coils sit tight against each other with almost no visible space between them. Here’s what to look at:
- Coil gaps. Look along the length of the spring. Even spacing between coils is normal. A single wide gap, or a section where the coils have visibly separated, is the classic sign of a spring that has stretched or is about to fail.
- The gap at the winding cone. At one end of the spring is the winding cone, held by two set screws. A visible separation between the spring body and that cone is a red flag.
- Rust and pitting. Surface rust on a torsion spring is common in a humid climate like Brooklyn’s, but deep pitting, flaking steel, or rust concentrated at one coil is a sign the wire is thinning.
- Color coding. Springs are painted at the end to indicate wire gauge. If the paint is worn off entirely, that’s cosmetic, not a failure sign, but it makes it harder for a technician to match a replacement.
- Sound. Stand back and cycle the door once. A sharp bang at the start of travel, or a door that lifts a few inches and stops, points to a broken spring.
Do not attempt to adjust, wind, unwind, or remove a torsion spring. The stored energy in a wound spring can cause severe injury in an instant, and there’s no safe way for a homeowner to work on one. If any of the checks above turn up a gap, a crack, or deep pitting, close the door if you can do so safely and stop the inspection there. A specialized spring repair is the only correct next step, and it’s one of the few garage door jobs that genuinely requires a trained technician.
In East Flatbush’s older garages, torsion springs often live in a space that gets cold in winter and hot and humid in summer. That cycle accelerates metal fatigue compared with a climate-controlled environment, which is a good reason to run this check twice a year rather than once.
Step 2: Cable and Drum Inspection
Cables are the second safety-critical system, and they’re easier to inspect than springs because you can see most of them from the floor. Each side of the door has a cable running from the bottom bracket up to a drum at the top of the track. The drum winds the cable as the door opens.
Look for these conditions on each cable:
- Fraying. A single broken strand sticking out from the braid is the first sign of cable failure. Don’t pull on it. Note it and stop.
- Flat spots and kinks. A cable that has jumped its track or been pinched will show a kink. That’s a sign the door is out of balance or a drum is misaligned.
- Cable sitting off the drum. The cable should wind neatly in the drum’s grooves. A cable riding on top of the drum, or spooled loosely, is a serious problem that can snap under load.
- Rust. Light surface rust is normal in a humid climate. Pitting that has eaten into individual strands is not.
Cables are under tension the entire time, and they fail suddenly rather than gradually. If you see fraying or a cable off its drum, don’t cycle the door and don’t try to re-seat the cable yourself. This is a stop-and-call condition, and it belongs in the hands of a technician who can inspect the drum and bottom bracket at the same time.
One East Flatbush-specific note: detached garages along the side streets often have cable runs that pass close to where bicycles and tools get leaned against the wall. A cable that’s been bumped can develop a kink that isn’t obvious until it fails. If you store anything against the garage wall, check the cables on that side first.
Step 3: The Balance and Travel Test
Once the springs and cables pass inspection, you can test whether the door moves as a balanced system. This is where you get to actually operate the door, so it’s the transition point from phase one to phase two.
Here’s the sequence, and please do it with nothing and no one in the door’s path:
- Close the door and disconnect the opener using the manual release cord. You’ll hear a click when it releases.
- Lift the door by hand to about waist height. It should feel light, not heavy, and it should move smoothly without a grinding or popping sound.
- Let go. The door should stay where you put it, or drift only slightly. A door that slides back down is out of balance, which usually means the spring has lost tension.
- Lift the door to the fully open position and let go. It shouldn’t drop on its own.
- Reconnect the opener and cycle the door once with the wall button, watching the full travel from inside the garage.
- Listen for scraping, popping, or a door that hesitates partway up. Each points to a different problem: track alignment, roller wear, or a failing spring.
An unbalanced door is almost always a spring problem, not a door problem. Reconnecting the opener and letting it compensate is the wrong move: the opener will lift the door, but it’s doing work the spring should be doing, and that’s how opener gears strip. If the door won’t hold its position, the spring needs attention from a technician, not an adjustment to the opener.
Step 4: Lubrication That Survives Brooklyn Temperature Swings
Now that the door is safe and balanced, lubrication is worth doing. But which product you use matters, and the internet’s favorite answer, generic spray lubricant, is the wrong one.
Brooklyn’s temperature swings are the issue. A garage door in East Flatbush might see freezing mornings in January and humid, near-90-degree afternoons in July. A thin, petroleum-based spray lubricant will run off in summer heat and gum up in winter cold. What you want is a lithium grease, a silicone-based lubricant, or a dedicated garage door lubricant that stays where you put it and doesn’t attract grit.
Where to apply it:
- Rollers: a drop on the roller stem, not the roller wheel itself. Oil on the wheel picks up dust and eventually flattens.
- Hinges: one drop in each hinge pivot point, at every hinge along the door.
- Track: a light wipe of lubricant along the inside of the track’s curve, not the straight sections. The straight sections should stay dry so the rollers don’t slip.
- Torsion spring: a light coat on the spring itself reduces friction between coils. This does not make the spring safe to touch; you’re still not winding it, just wiping the exterior.
Skip the opener’s chain or belt unless the manufacturer’s manual calls for it, and never lubricate safety sensors or photo-eye lenses. In East Flatbush, where garages sit close to the street and dust from the sidewalk settles on everything, you’ll want to wipe the track clean before applying anything. Lubricating over grit grinds it into the rollers.
Step 5: Weatherstripping and Curb-Level Debris in East Flatbush
Weatherstripping is the component most East Flatbush homeowners ignore until water or a draft makes it obvious. Curb-level garages, the ones that open right onto the sidewalk, face a specific set of conditions: street grit, leaves from the neighborhood’s street trees, and run-off that pools at the threshold during heavy rain. The bottom seal is your first line of defense.
Inspect these points:
- The bottom seal (astragal). Close the door and look at the line where it meets the floor. Light visible underneath means the seal is compressed, torn, or the threshold is uneven. A thin strip of daylight is worth checking; a visible gap is worth fixing.
- Side and top seals. Run a hand along the jamb seals and check for gaps where the door meets the frame. These are common entry points for drafts and, in a street-facing garage, fine debris.
- The threshold itself. Curb-level garages often have a small concrete lip that channels water. If it’s cracked or blocked with debris, water has nowhere to go and finds the bottom seal instead.
- Debris in the tracks. This is the East Flatbush-specific one. Street grit, leaves, and the occasional piece of litter collect in the bottom of the vertical tracks. Sweep them out with a dry brush before lubricating; a roller that rides over grit wears out fast.
- The weather seal at the top of the opening. A worn top seal lets water in behind the door during a storm, which finds its way into the opener mounting.
Weatherstripping is a genuinely DIY-friendly job, and replacing a bottom seal on a Wayne Dalton or Clopay door with the right part takes less time than installing a new light fixture. The key is matching the seal to your door’s specific profile rather than trimming a universal strip to fit.
Step 6: Opener, Safety Sensors, and Manual Release
Last phase: the opener. This is the system that gets blamed for everything, and it’s usually the symptom rather than the cause. Once the door itself is balanced and lubricated, the opener has far less to compensate for.
Run these checks:
- Photo-eye test. With the door open, wave an object between the two sensors at the bottom of the tracks. The door should reverse. If it doesn’t, realign the sensors until their indicator lights are solid.
- Force test. Lay a piece of lumber flat under the closing door. The door should reverse on contact. If it doesn’t, the opener’s force setting is too high. Have a technician check it.
- Manual release. Pull the release cord and confirm the door disconnects from the opener. Reconnect and test that the door re-engages properly.
- Remote and wall button. Test both. If the wall button works and the remote doesn’t, that’s a remote or receiver issue, not the motor.
- Smart features. If you have a LiftMaster or Chamberlain unit with a connected app, confirm the app reports the door correctly after a cycle.
Older Craftsman and Raynor openers are common in East Flatbush garages, typically on doors that have been in service a long time. They’re reliable units, and most issues trace back to the door rather than the motor. If the opener strains, hesitates, or reverses partway up, check whether it’s doing the spring’s work before assuming the opener needs replacement. Opener repair is often the right answer, and it’s usually far less expensive than a replacement.
How Often Should You Run This Checklist?
Twice a year is right for most East Flatbush homes, once in the fall before the cold and once in the spring after the thaw. That schedule catches the wear that temperature cycling creates, and it puts your eyes on the spring before the coldest weeks, when a failure is most disruptive.
Adjust the frequency based on these factors:
- Door age and cycle count. A door that opens and closes eight times a day wears faster than one that opens twice. Older doors with high cycle counts deserve a quarterly check.
- Detached versus attached garages. Detached garages in East Flatbush often see more debris and looser seasonal conditions, so check them more often.
- After a big windstorm or a snow event. Trees drop limbs near curb-level garages, and impact damage to a panel often brings a track out of alignment. Run steps one through three in the days after a storm.
- Any time the door acts differently. A new noise, a slight hesitation, a door that reverses without a reason. Those signals are the reason to run the sequence sooner.
If you’d rather not DIY, a trained technician can run this check during a routine visit and flag anything a homeowner wouldn’t spot. The sequence matters even then, because it’s the order that catches the safety-critical items first.
Common Mistakes to Avoid
- Lubricating before inspecting. Oiling a door with a failing spring makes the failure happen faster by masking the friction that told you something was wrong. Run the safety checks first, every time.
- Using WD-40 on the rollers and tracks. It’s a light solvent, not a lasting lubricant, and it’ll run off within weeks. Use a lithium or silicone product made for the purpose.
- Adjusting the torsion spring. This is a stop-and-call job, no exceptions. The stored energy in a wound torsion spring can cause serious injury, and even experienced technicians use winding bars for this.
- Reconnecting the opener after the door loses balance. A door that won’t hold its position needs spring attention. Using the opener to compensate strips its gear and turns a spring repair into a spring-plus-opener repair.
- Ignoring the bottom seal on a curb-level garage. In East Flatbush, water and grit come straight off the sidewalk. A worn bottom seal lets both in, and the water finds the opener.
- Skipping the photo-eye test. The most common opener failure at 11pm is a sensor that’s been nudged out of alignment. Test it every cycle.
- Assuming the opener is the problem. Most “failing openers” are doing extra work because the door is out of balance or a roller has seized. Check the door first, then the opener.
When to Call a Professional
Some items on this checklist are worth a technician call, and knowing where that line sits keeps you safe. Call a professional if any of these are true: a visible gap in the torsion spring coils, a cracked or rusted-through spring, a frayed or kinked cable, a cable that’s come off its drum, a door that won’t stay in the position you leave it, a door that reverses without a reason, a bent track or panel after an impact, an opener that strains or reverses partway, or a popped bolt in a hinge or bottom bracket.
Spring repair is the standout case. It’s one of the most technically demanding garage door services there is, and it’s the one most general handymen decline. That’s the right instinct. Leave it to a specialist. We perform spring repair in-house and are equipped to service the systems most East Flatbush homes actually have, including LiftMaster, Chamberlain, Genie, Clopay, Amarr, Wayne Dalton, Craftsman, and Raynor. Our technicians have up to 14 years of experience.
Garage Door Repair East Flatbush offers free estimates in East Flatbush. Call (855) 658-4194 and we’ll talk through what you’re seeing before any work gets scheduled.
Frequently Asked Questions
Twice a year is right for most East Flatbush homes, once in the fall and once in the spring. Doors with high cycle counts or detached garages should get a quarterly look. Any new noise, hesitation, or reversal is a reason to run it sooner. Call (855) 658-4194 if the sequence turns up a safety-critical issue.
Yes, you can inspect a torsion spring from the ground by eye, without touching it. Look for coil gaps, separation at the winding cone, and deep rust. What you can’t do is adjust, wind, or remove it. Springs are under extreme tension, and any work on them belongs to a specialist.
Use a lithium grease, a silicone-based lubricant, or a dedicated garage door lubricant, not a general-purpose spray like WD-40. A proper garage door lubricant stays on through summer heat and winter cold instead of running off or gumming up. Apply it to the roller stems, hinge pivots, the track’s curves, and the exterior of the torsion spring.
In East Flatbush, curb-level garages take street run-off directly, and the bottom seal is your first line of defense. If the seal is compressed, torn, or the threshold lip is blocked with debris, water reaches the inside. Replacing the bottom seal with the one matching your door’s profile fixes most cases. Call (855) 658-4194 if you’re not sure which part your door needs.
That’s a repair. A door that won’t hold its position is out of balance, usually because the torsion spring has lost tension. Reconnecting the opener and letting it push the door up makes the problem worse. Have a technician look at the spring before you use the opener again.
We service systems from LiftMaster, Chamberlain, Genie, Clopay, Amarr, Wayne Dalton, Craftsman, and Raynor. If your opener is one of those, our technicians work with the actual components rather than universal substitutes. Call (855) 658-4194 with your model and we’ll confirm what we can do.
A single torsion spring repair typically runs $150 to $300, and a matched pair usually runs $250 to $500, since both springs are almost always replaced together. The written estimate sets the final price, and we quote before any work starts. Call (855) 658-4194 for a free estimate.
The Bottom Line
Your garage door maintenance checklist is a diagnostic sequence, not a chore list. Run it in the right order: springs and cables first, balance and travel second, lubrication, seals, and the opener last. That order catches the failures that cause injuries and 11pm emergencies before they do. If any safety-critical item on this checklist comes back bad, stop and call a specialist. Garage Door Repair East Flatbush provides residential garage door repair and spring repair across East Flatbush, and we’ll give you a free estimate before any work begins.
For a full review of what we handle, see our Garage Door Repair East Flatbush page. If you need a specific service, learn about garage door repair, garage door opener repair, and garage door installation.
Call (855) 658-4194 for a free estimate. The price is quoted and agreed before any work starts, and our technicians have up to 14 years of experience.
Written by the team at Garage Door Repair East Flatbush.
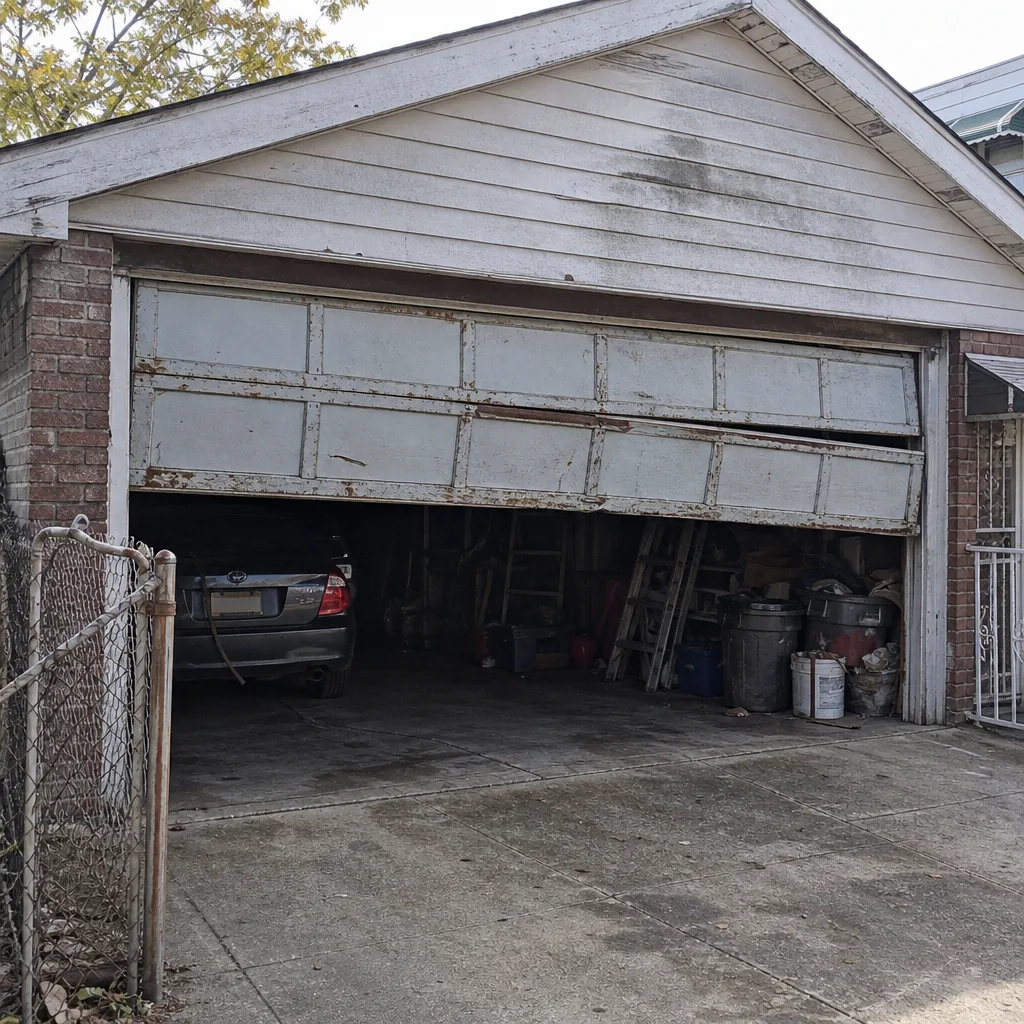
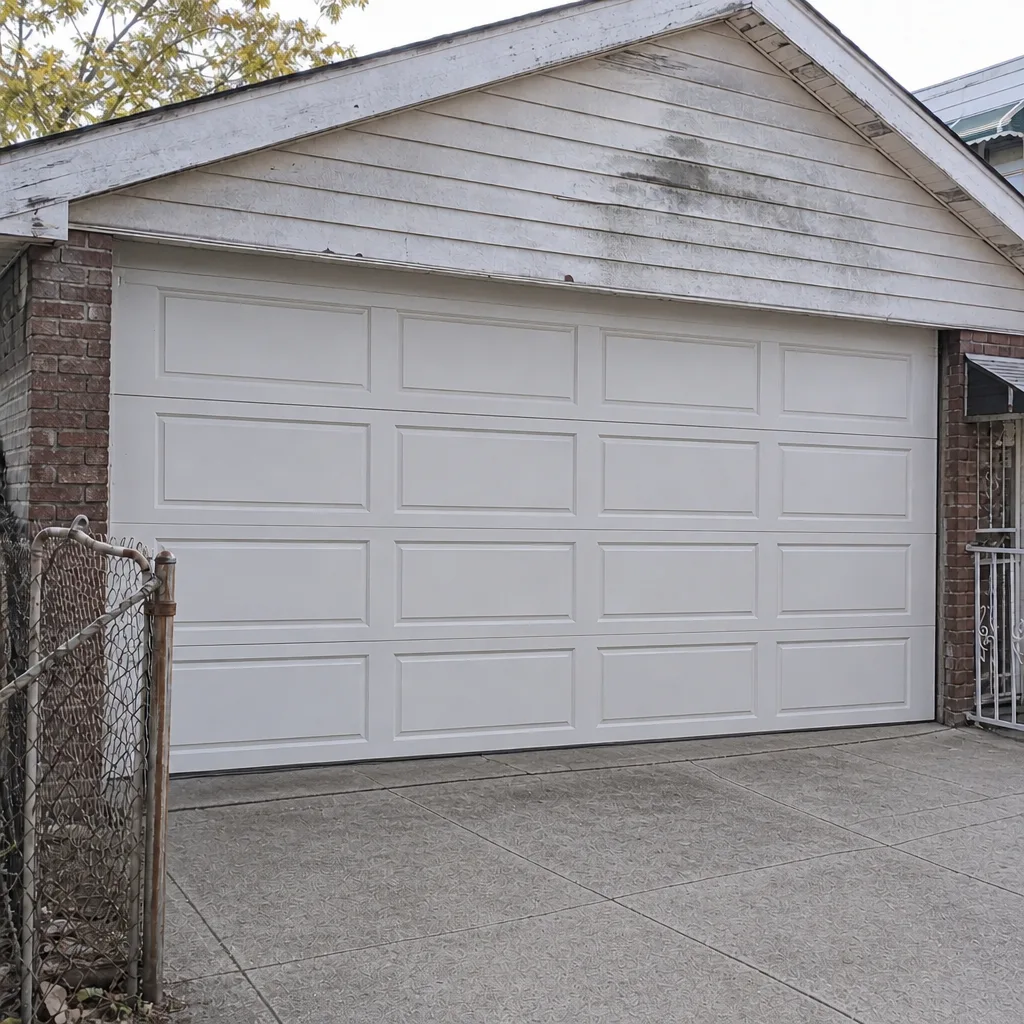
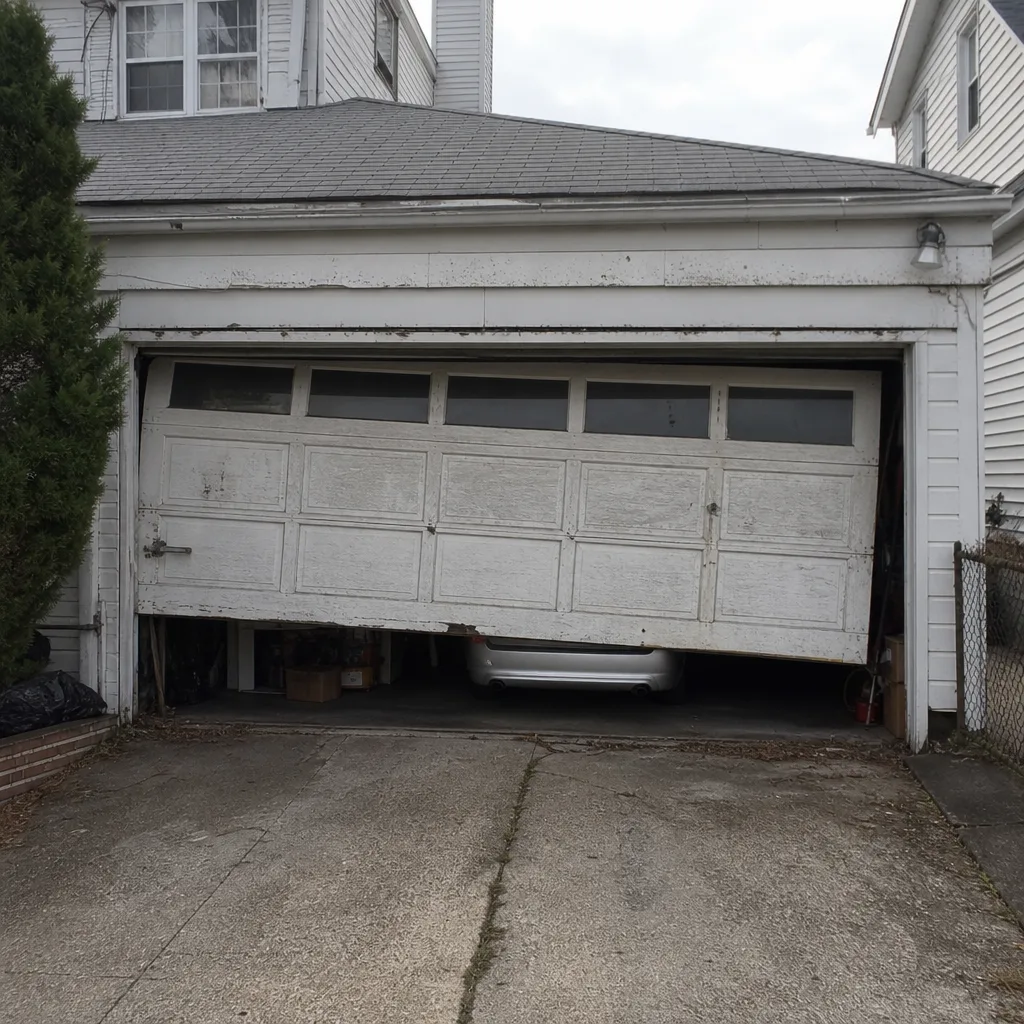
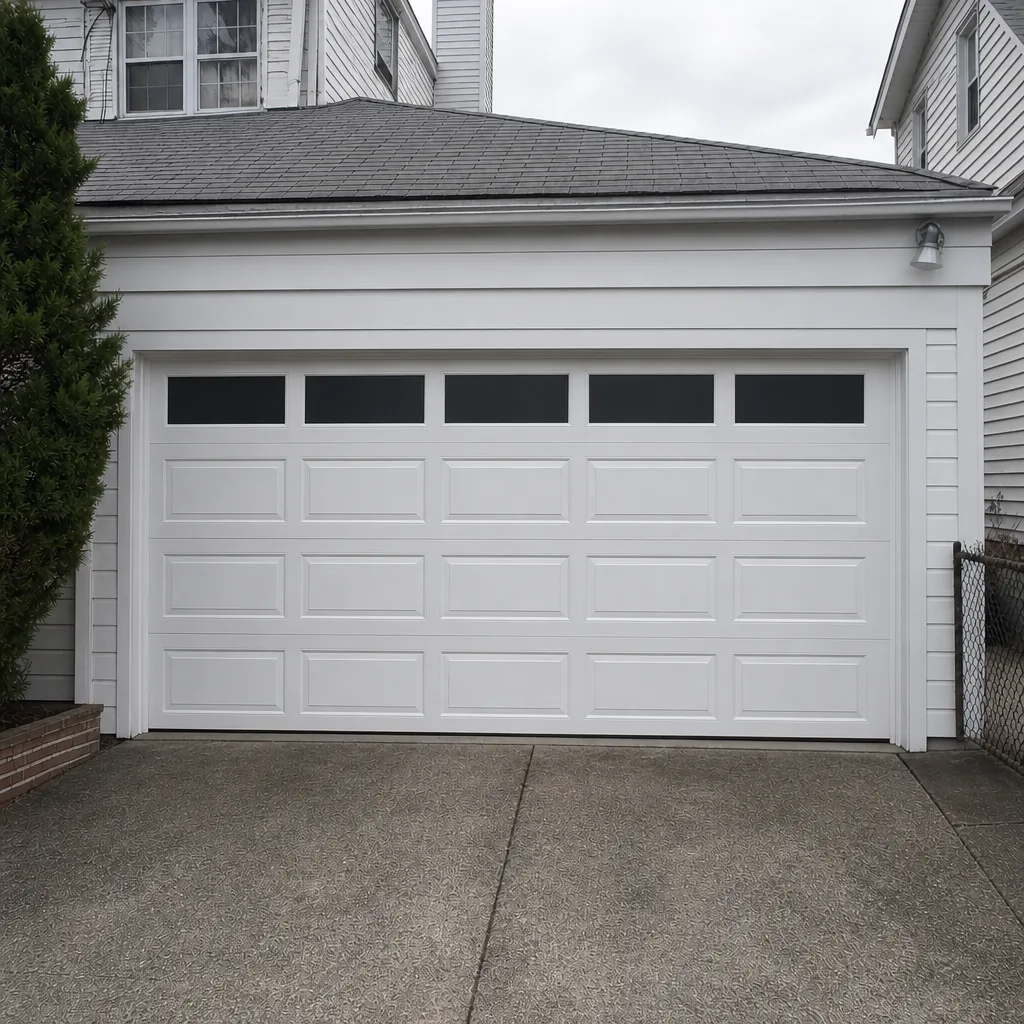
See the difference
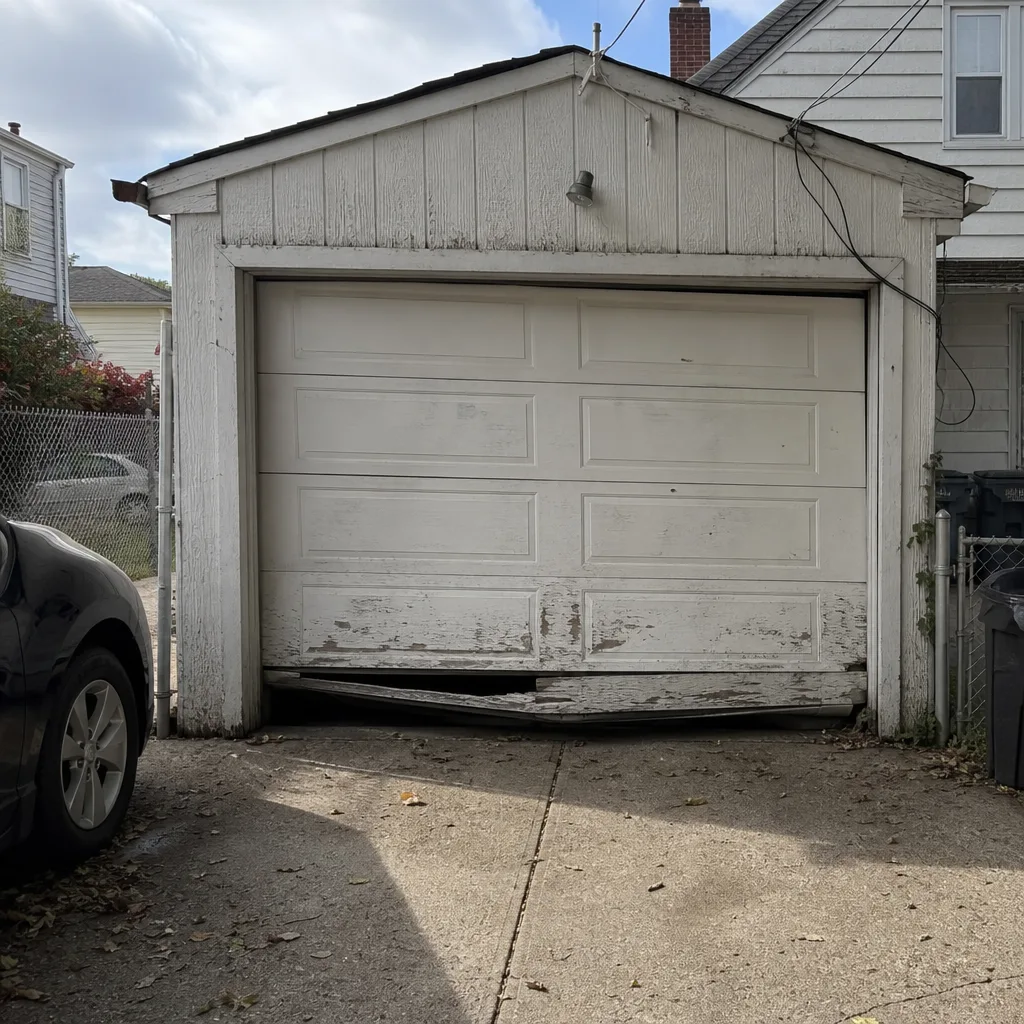 Before
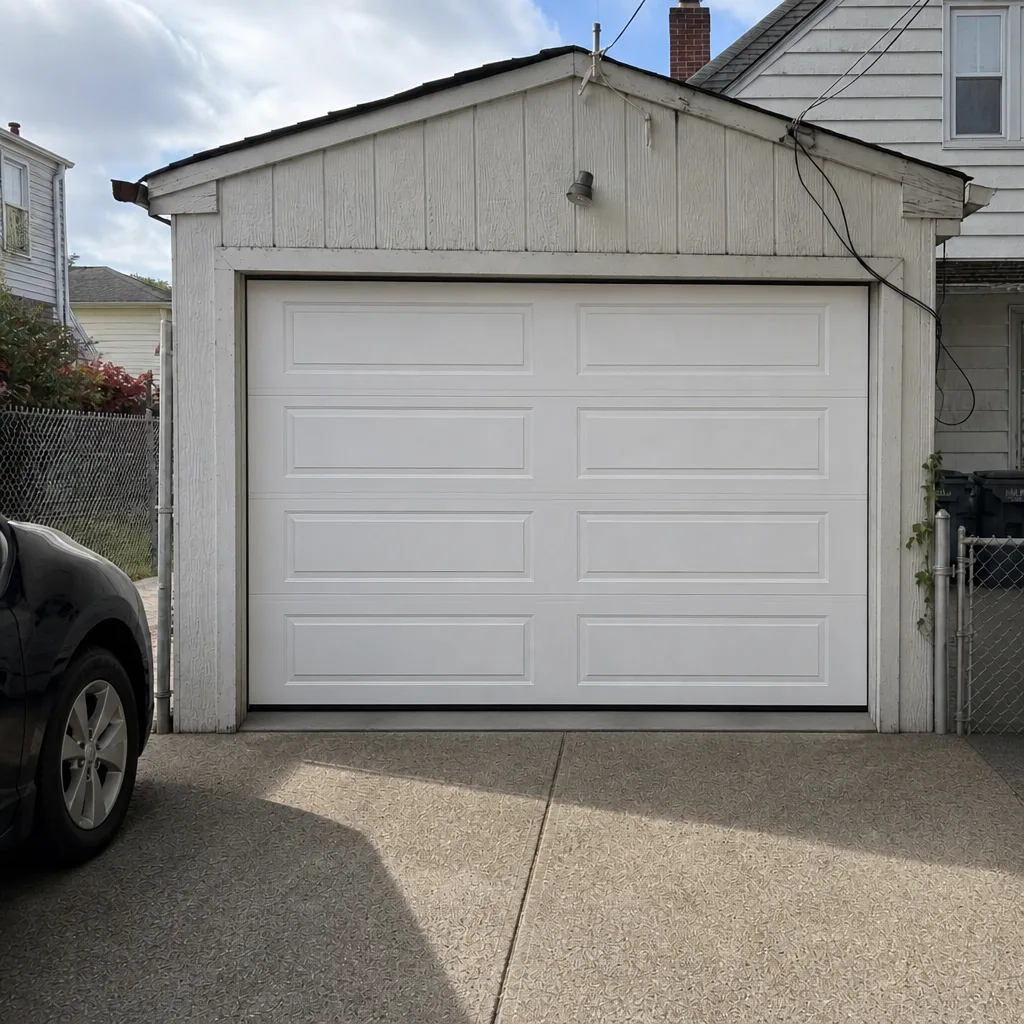 After
 Before
 After
 Before
 After